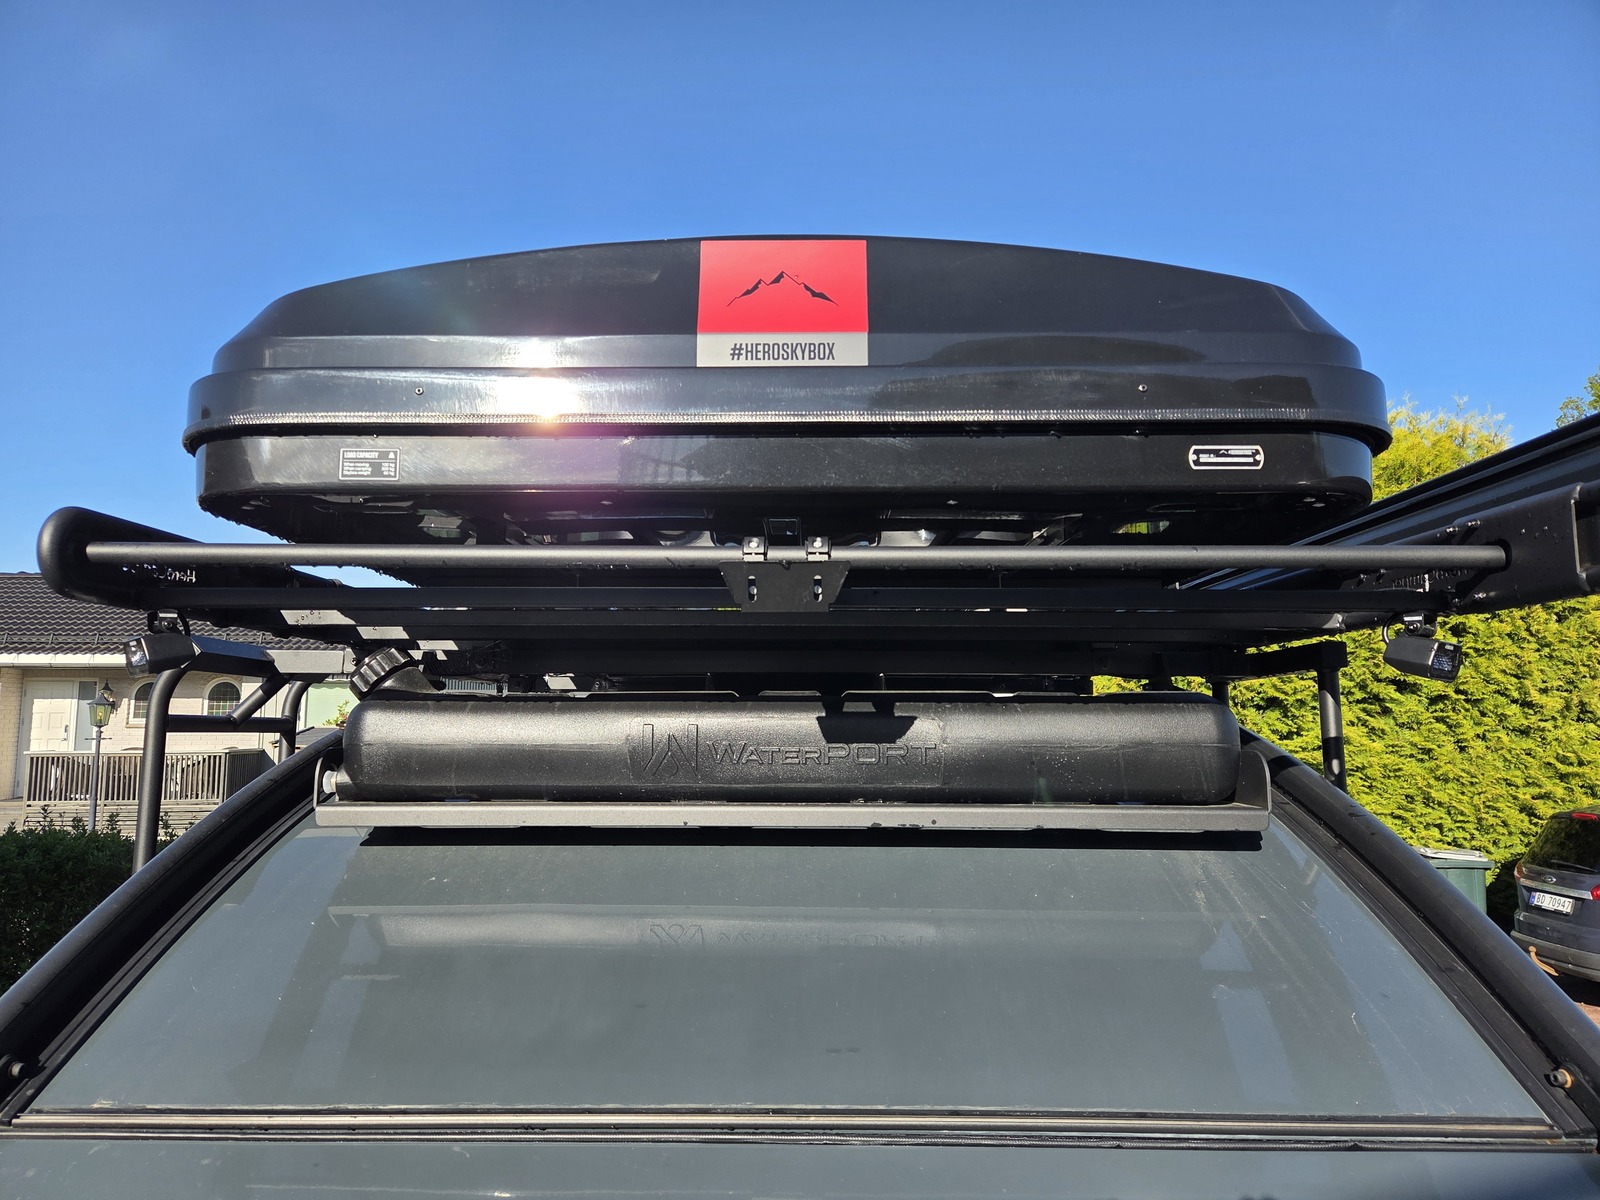
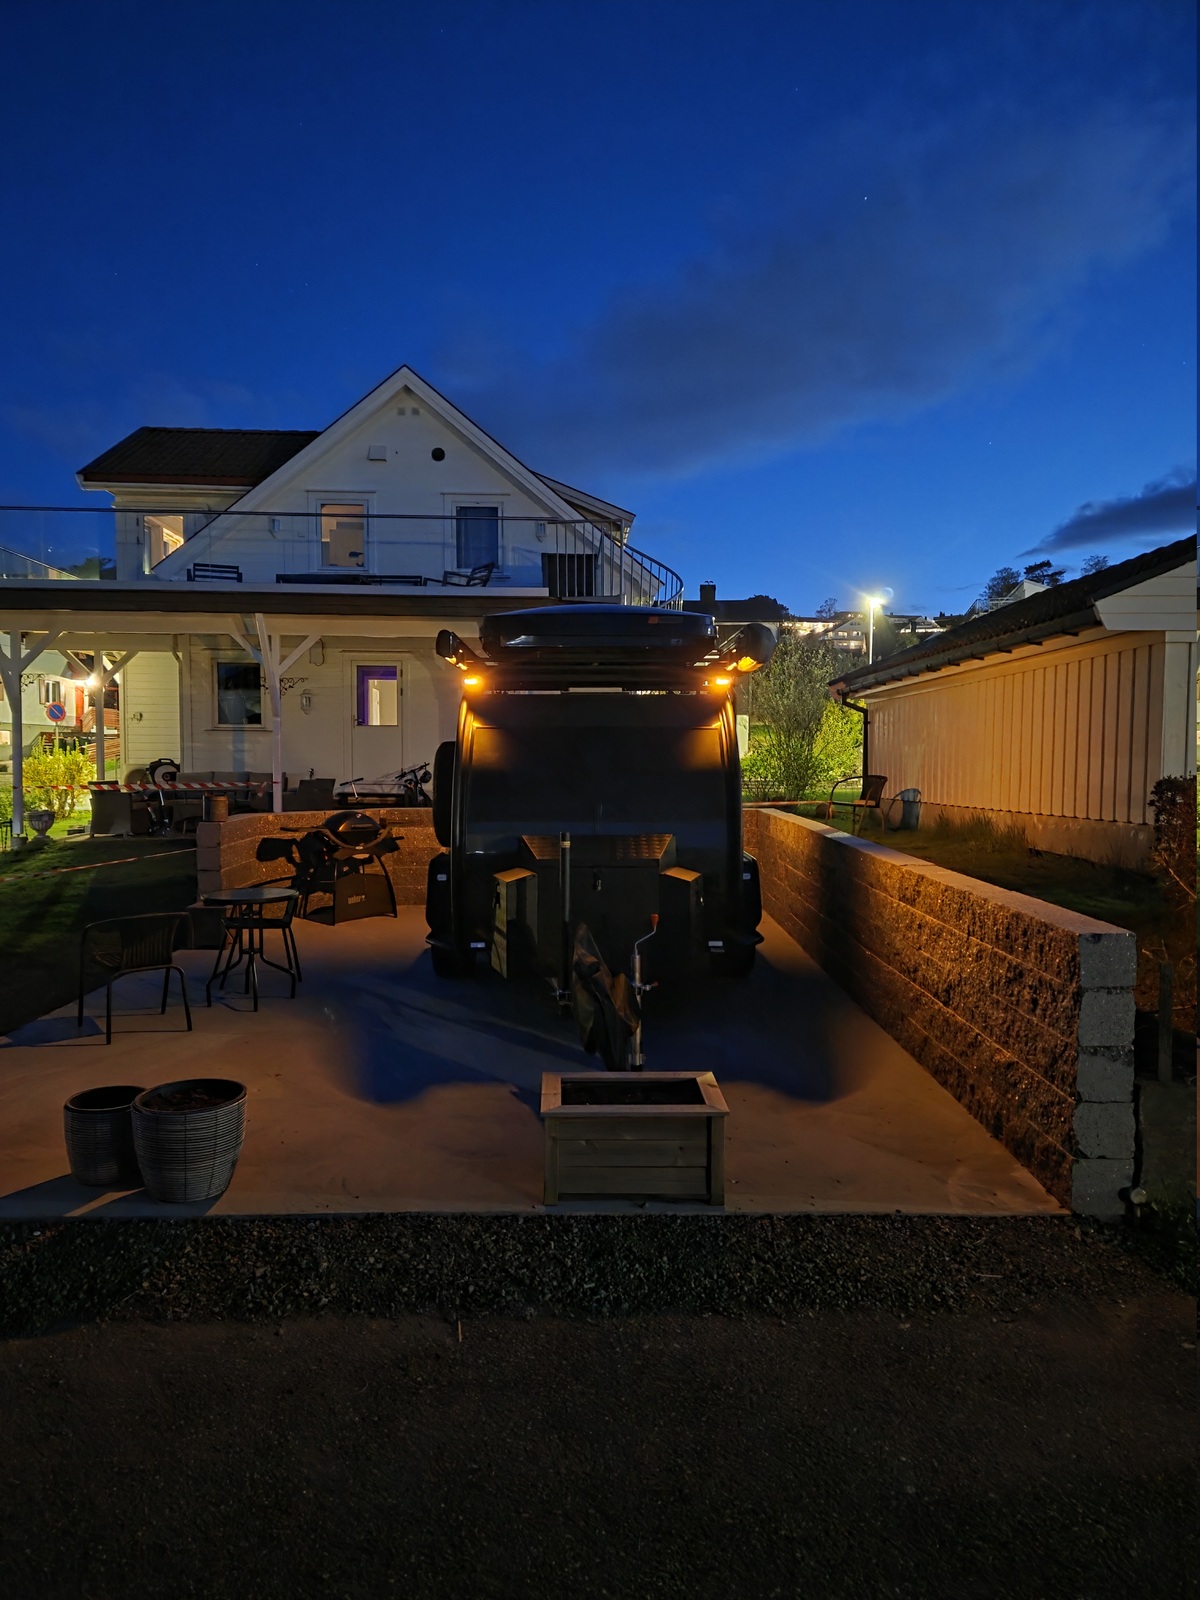
When we bought the Hero Camper we opted for having exterior lights installed, one in each corner of the roof-rack, with a simple controller inside the cabin.
The two rear lights were facing backwards, while the two in the front were facing out to each side. This left a dark area in front of the camper.
So far we have mostly used the red (the lights have red and yellow in addition to regular lights) to find the camper when parked at a dark campsite. Having a “blind-spot” in front was a bit annoying.
I initially planned to get two more lights and face them forwards, but that left me with a dilemma. There are only four channels on the controller, how to wire two additional lights?
It turned out I didn’t actually need more lights, I just needed to adjust the ones I have differently 🙂
The lights
Let’s first have a look at the lights:
- Color temperature: 5000 K (Valostore: 5049 K)
- Light output: 1500 lm (Valostore: 1394 lm)
- Dimensions: 96 x 45 x 50 mm
- IP rating: IP69K
- Power measured by Valostore
- Work light: 19.3 W
- Parking light: 5.4 W (red/yellow? unspecified)
- Range measured by Valostore
- 56 m @ 1 lux
- 112 m @ 0.25 lux
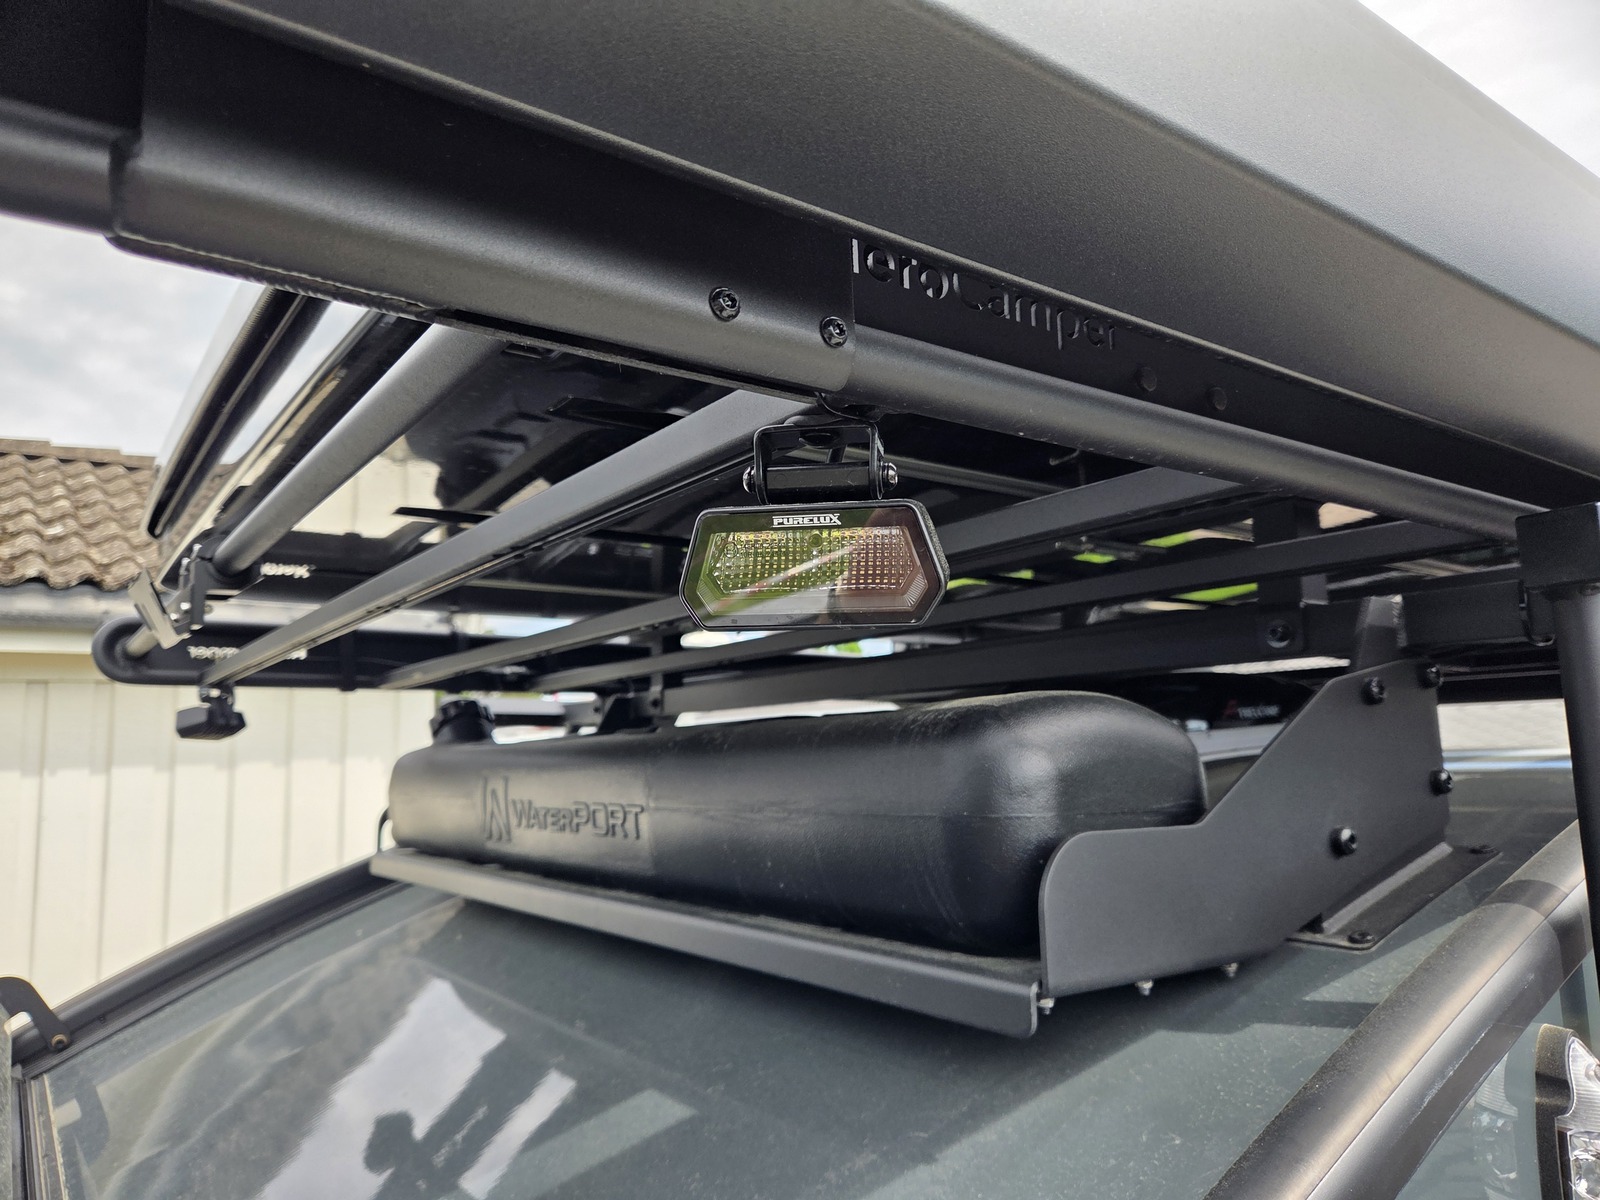
Mounting
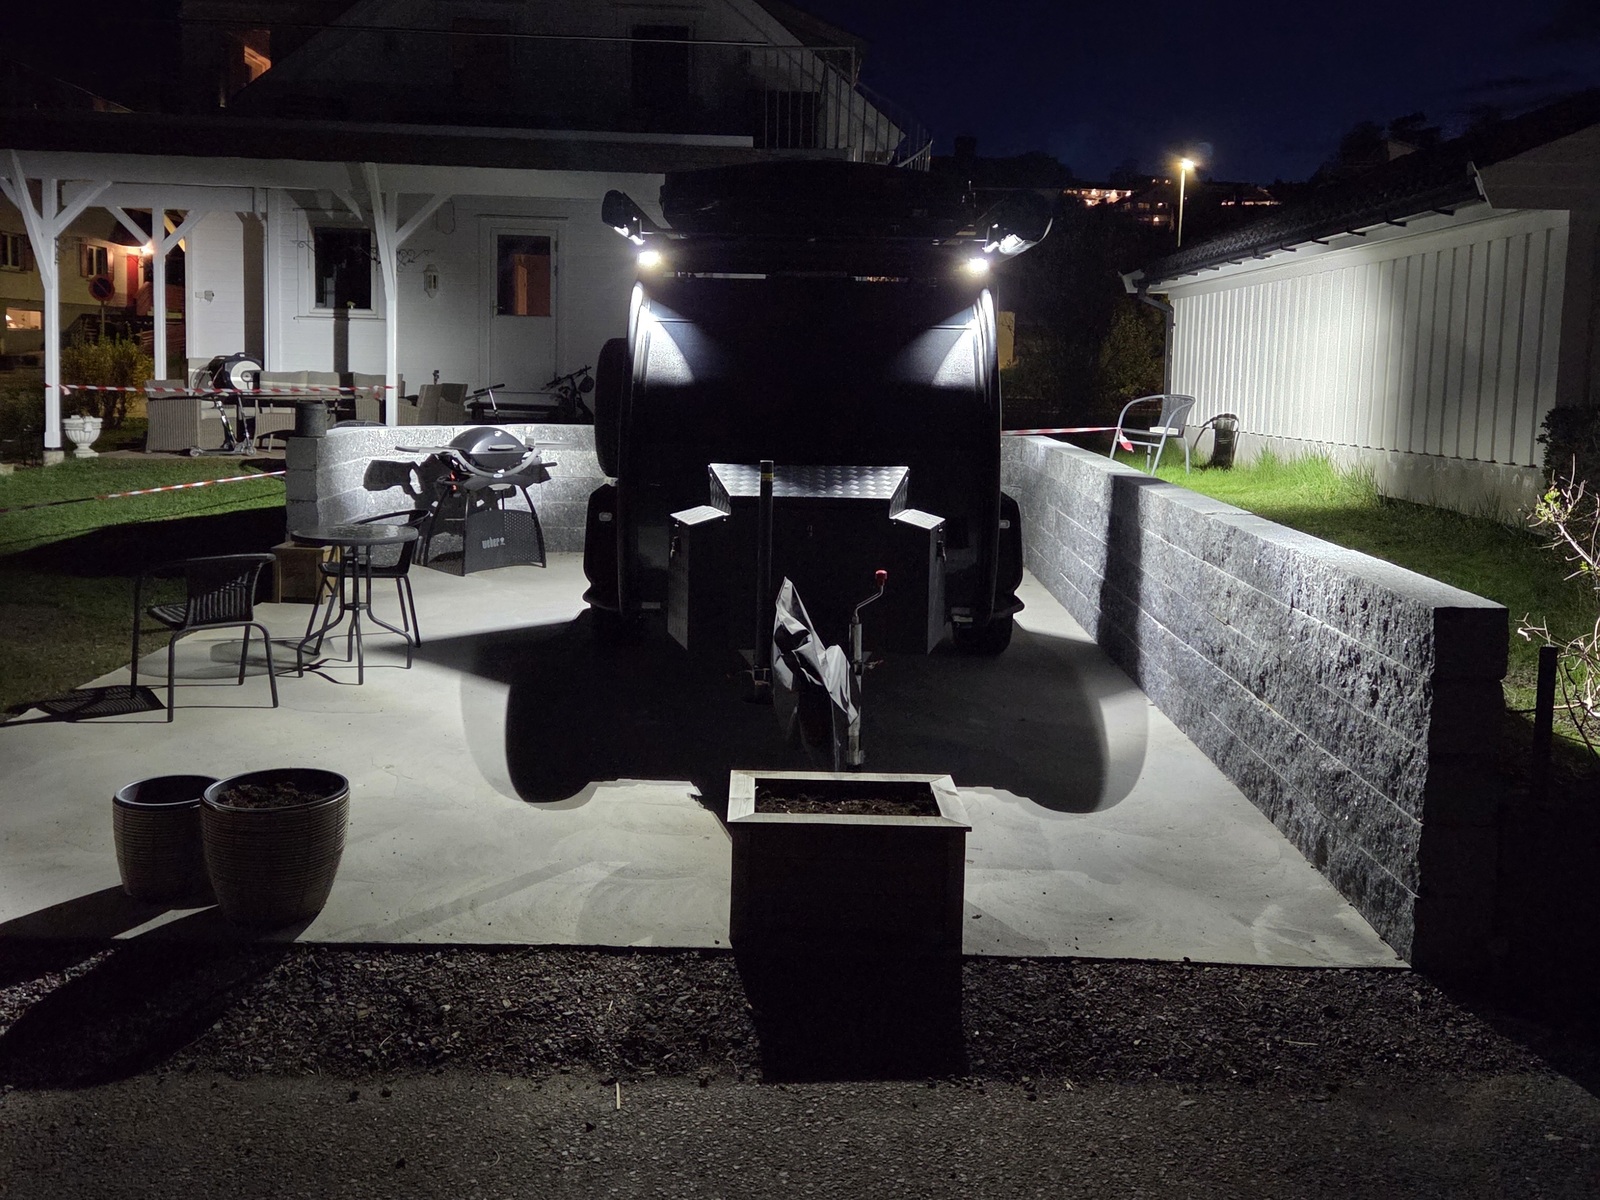
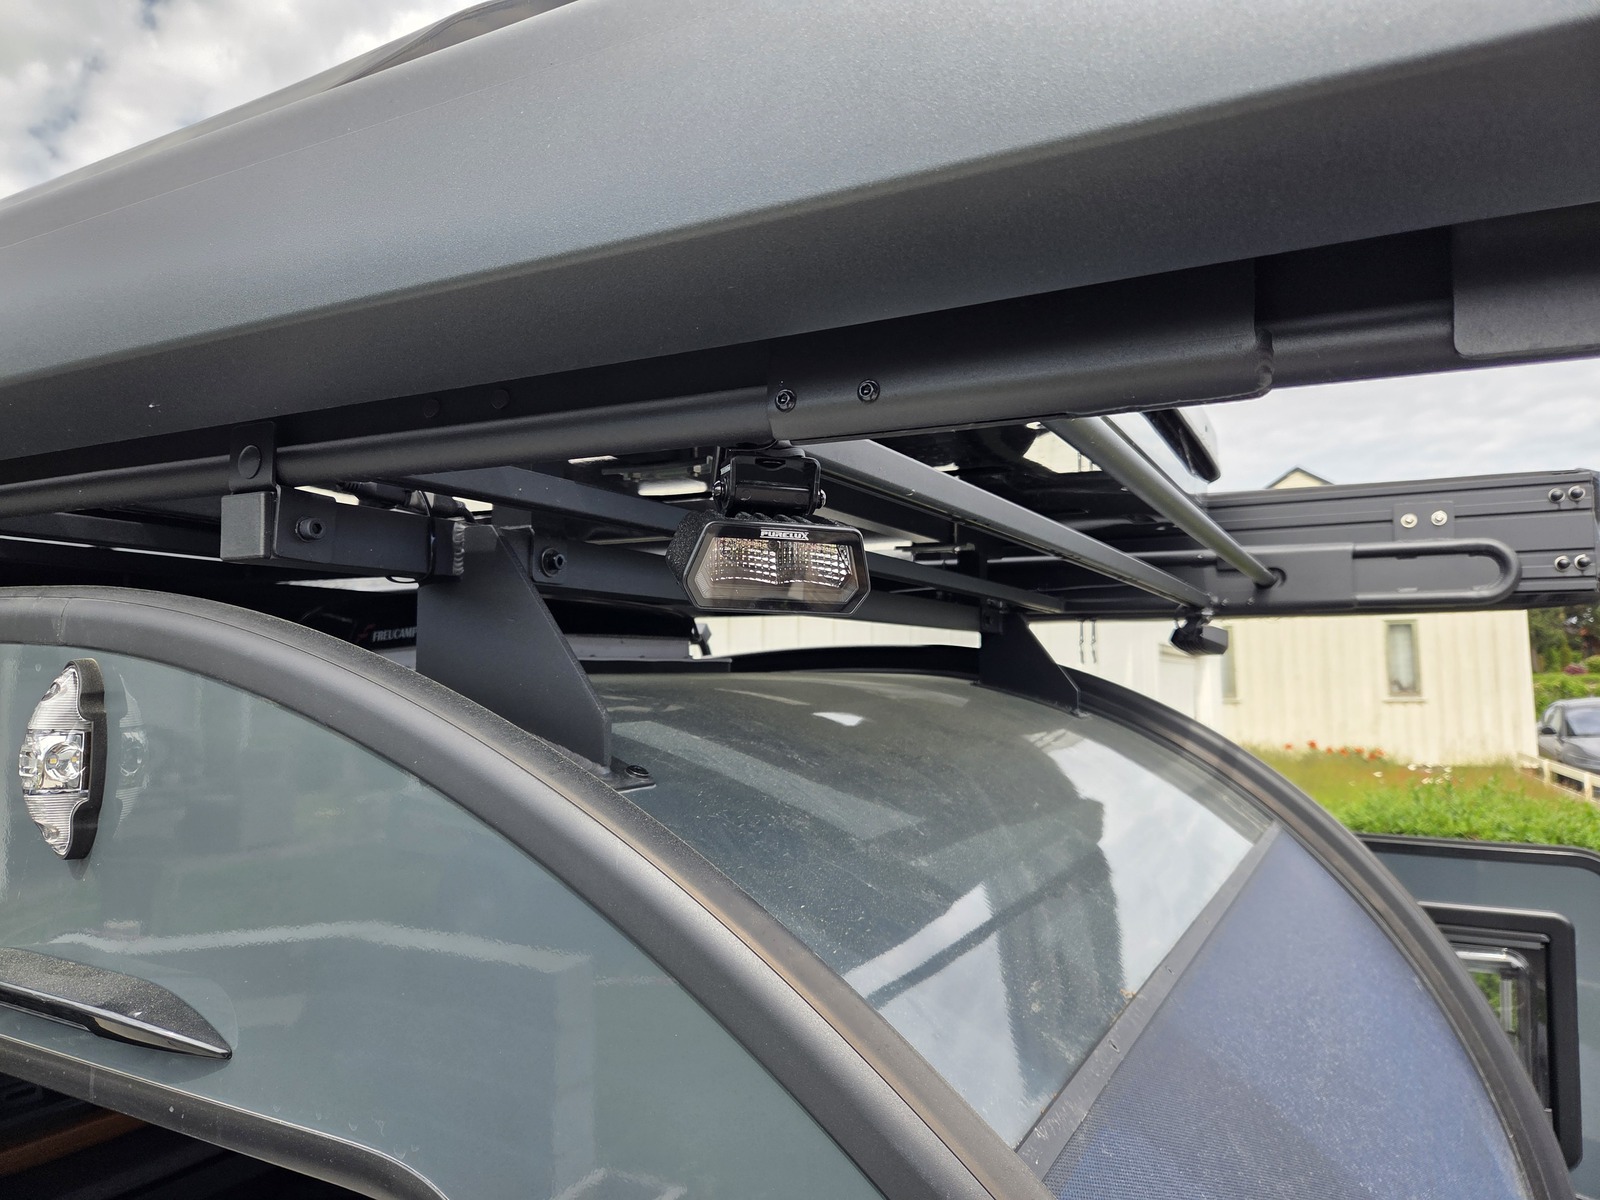
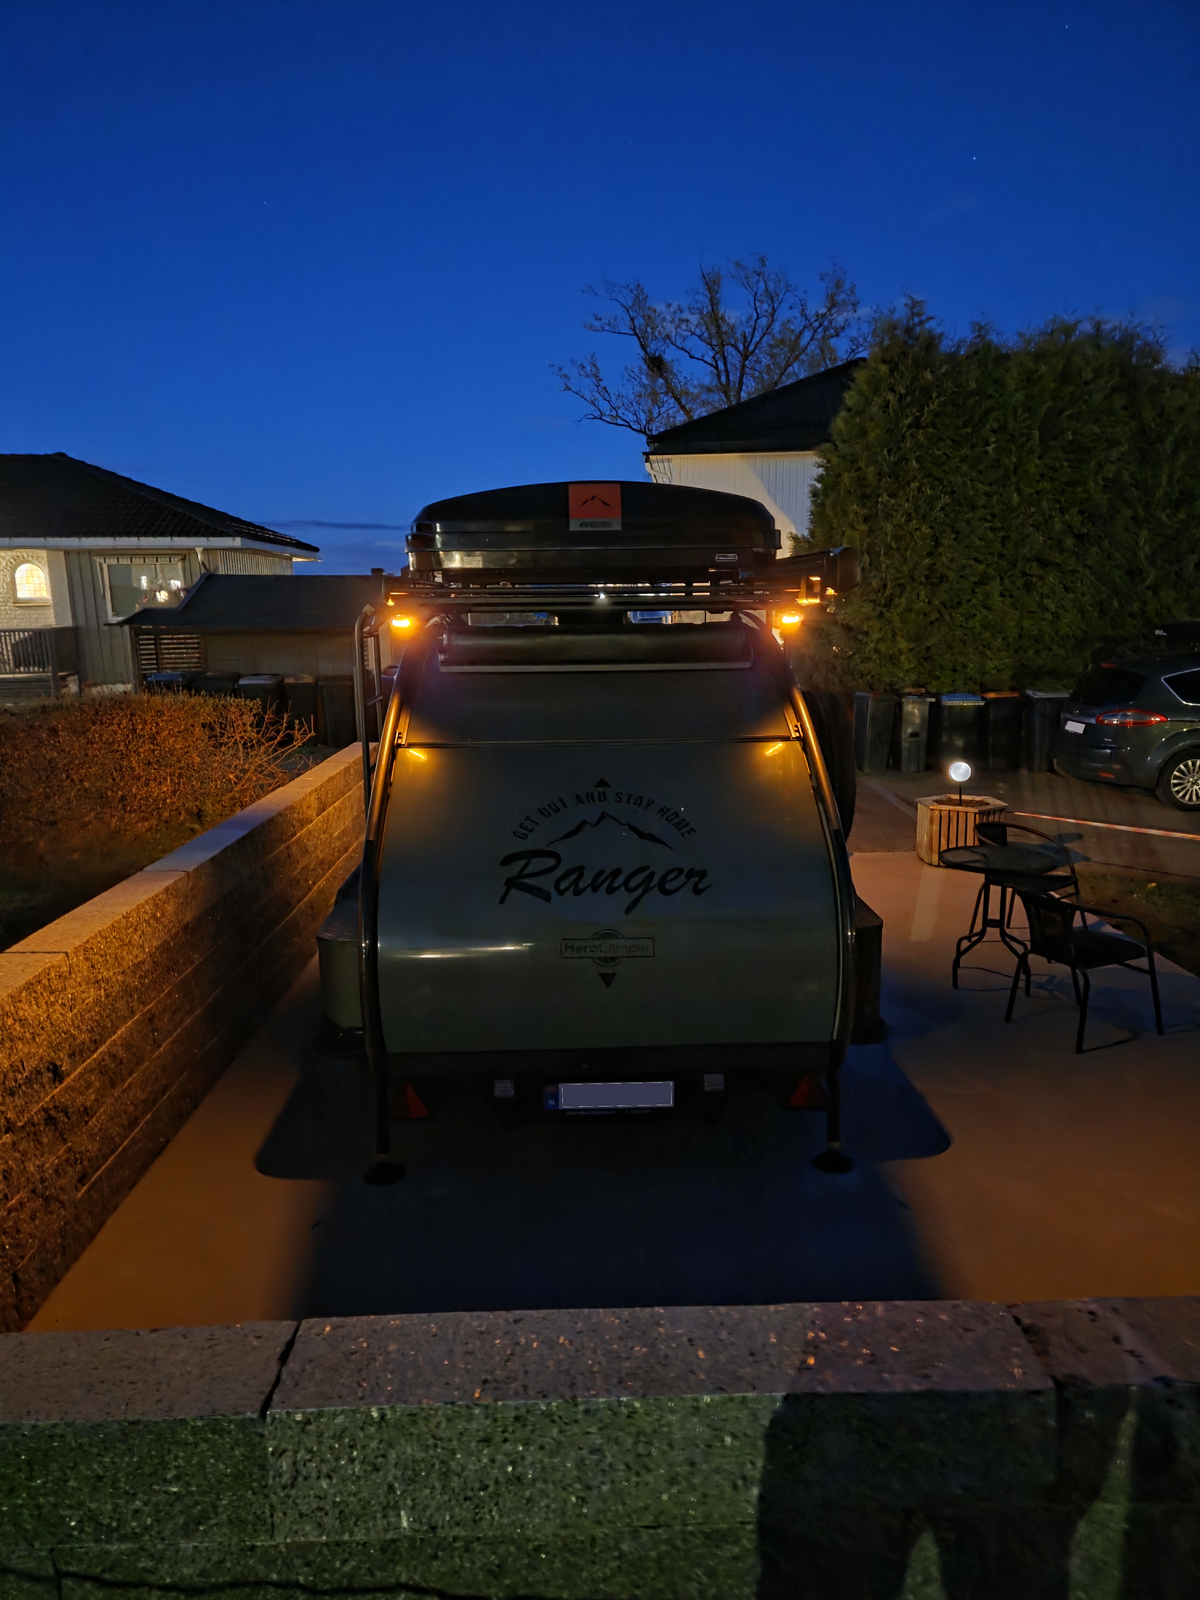
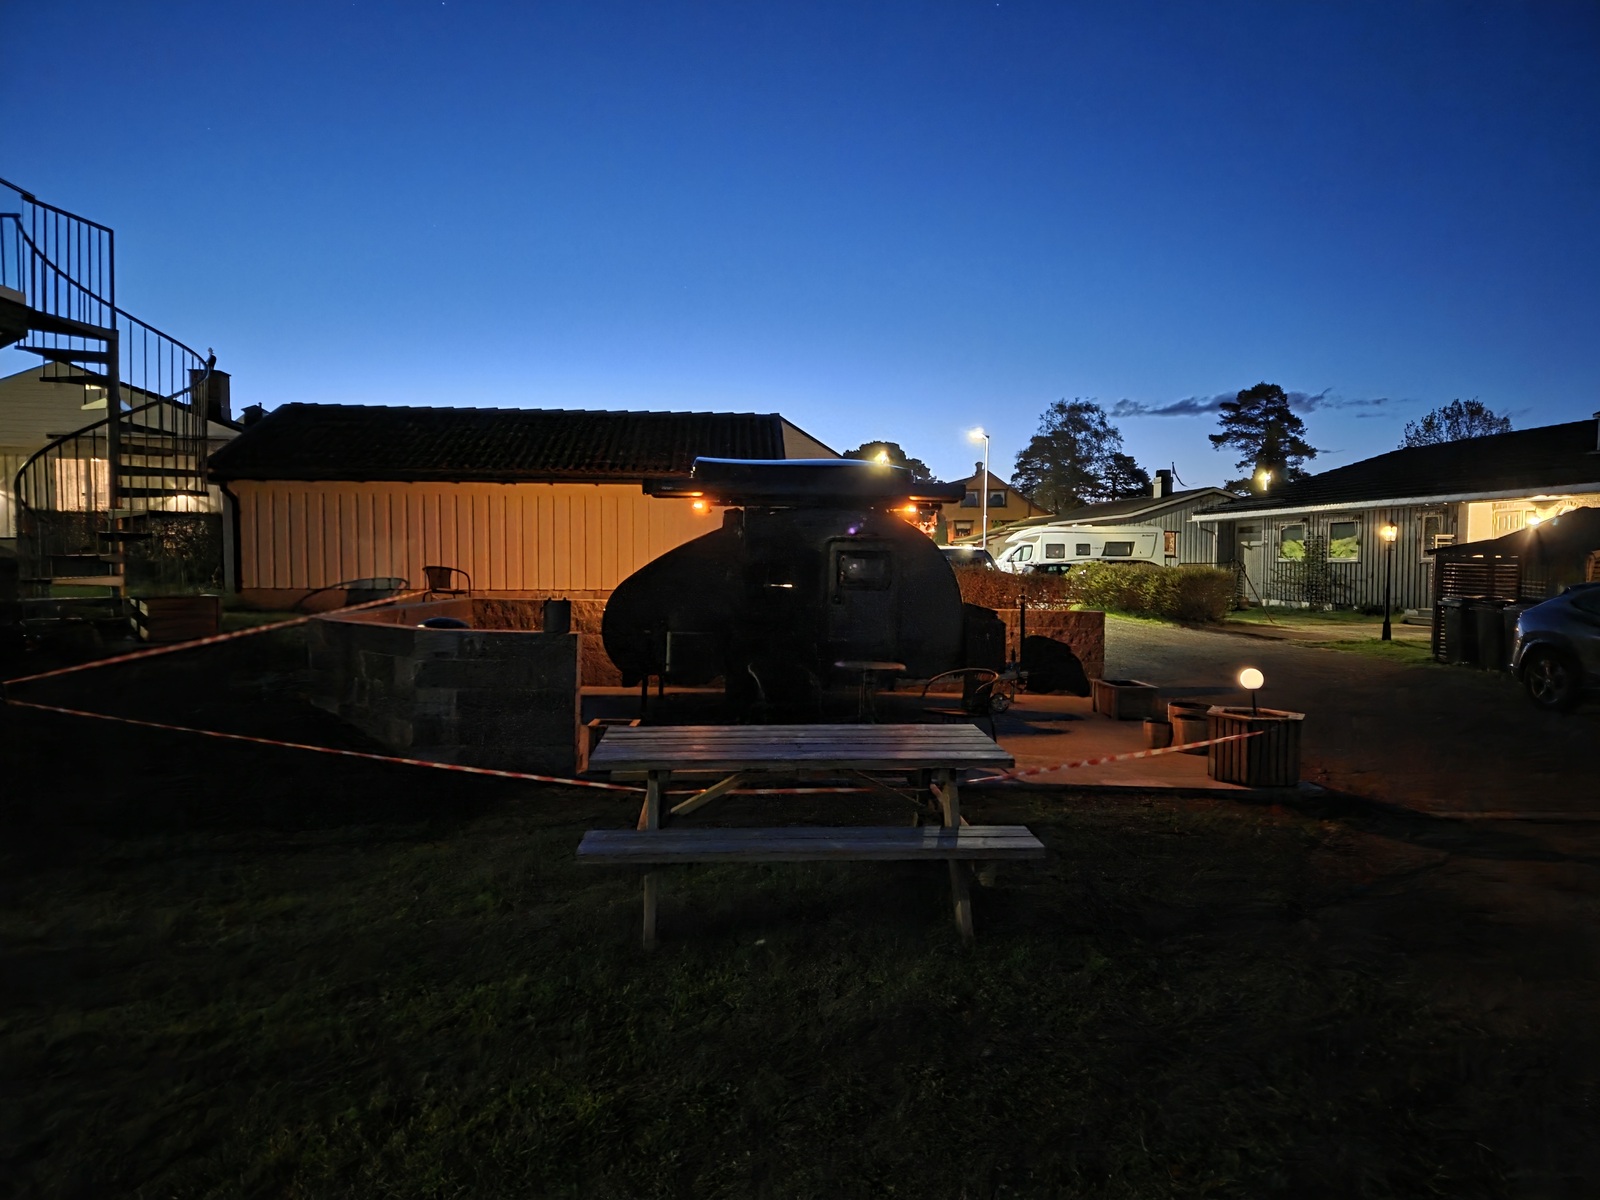
Instead of pointing backwards and to each side — I have aimed all lights 45° outward from the vehicle’s centreline. I used a sliding t-bevel to get all lights at the same angle.
That means each light is 90° apart from its neighbours, giving full 360° coverage around the vehicle. Because these wide-beam work lights have a broad horizontal spread, angling them 90° apart allows their light cones to overlap slightly, eliminating blind spots entirely.
I have also angled the lights downwards slightly, to illuminate the ground around the camper:
- Rear lights: 15° below horizontal
- Front lights: 17.5° below horizontal
The 2.5° difference is due to the rear of the camper body extending further past the roof-rack.
To get the downwards angle the same on the rear and front lights respectively, I adjusted them until the light cone looked the same on the left and right sides of the camper body.
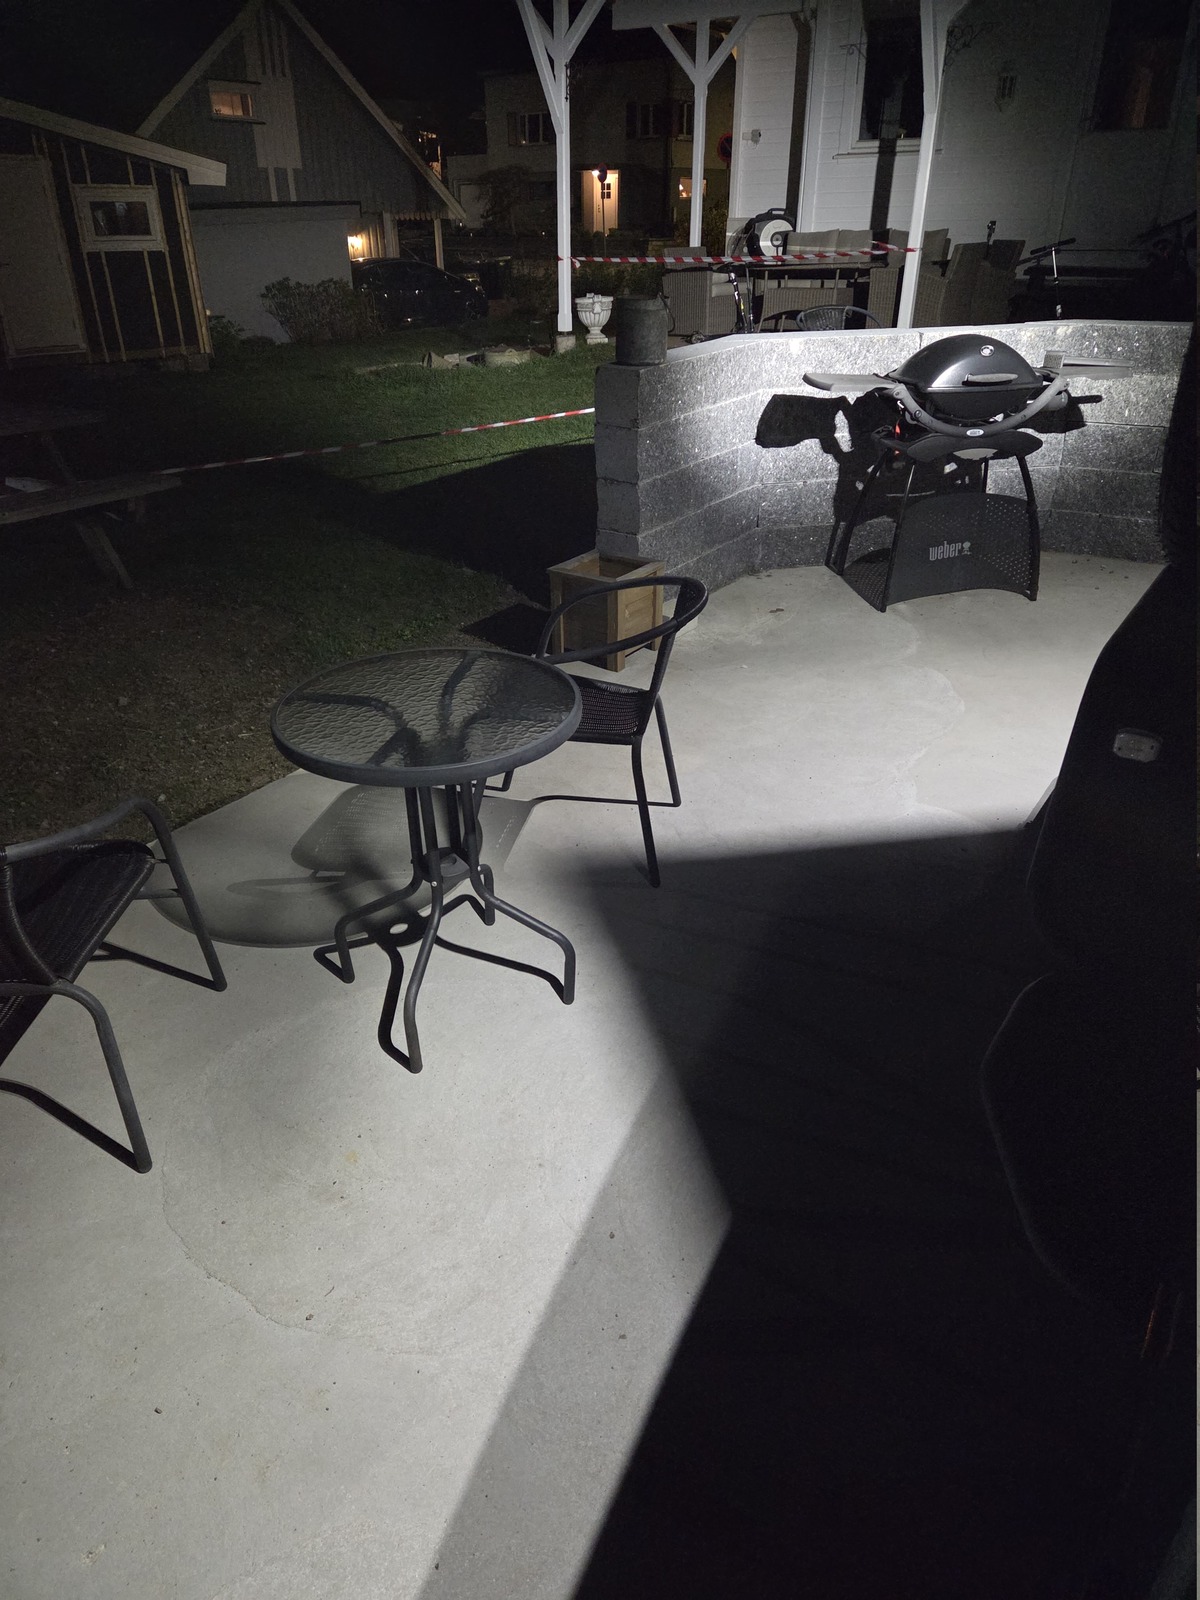
Angling them downward like this, of course, limits the range significantly. But I’m not really looking for range. I need good lights around the camper, not to flood the entire campsite.
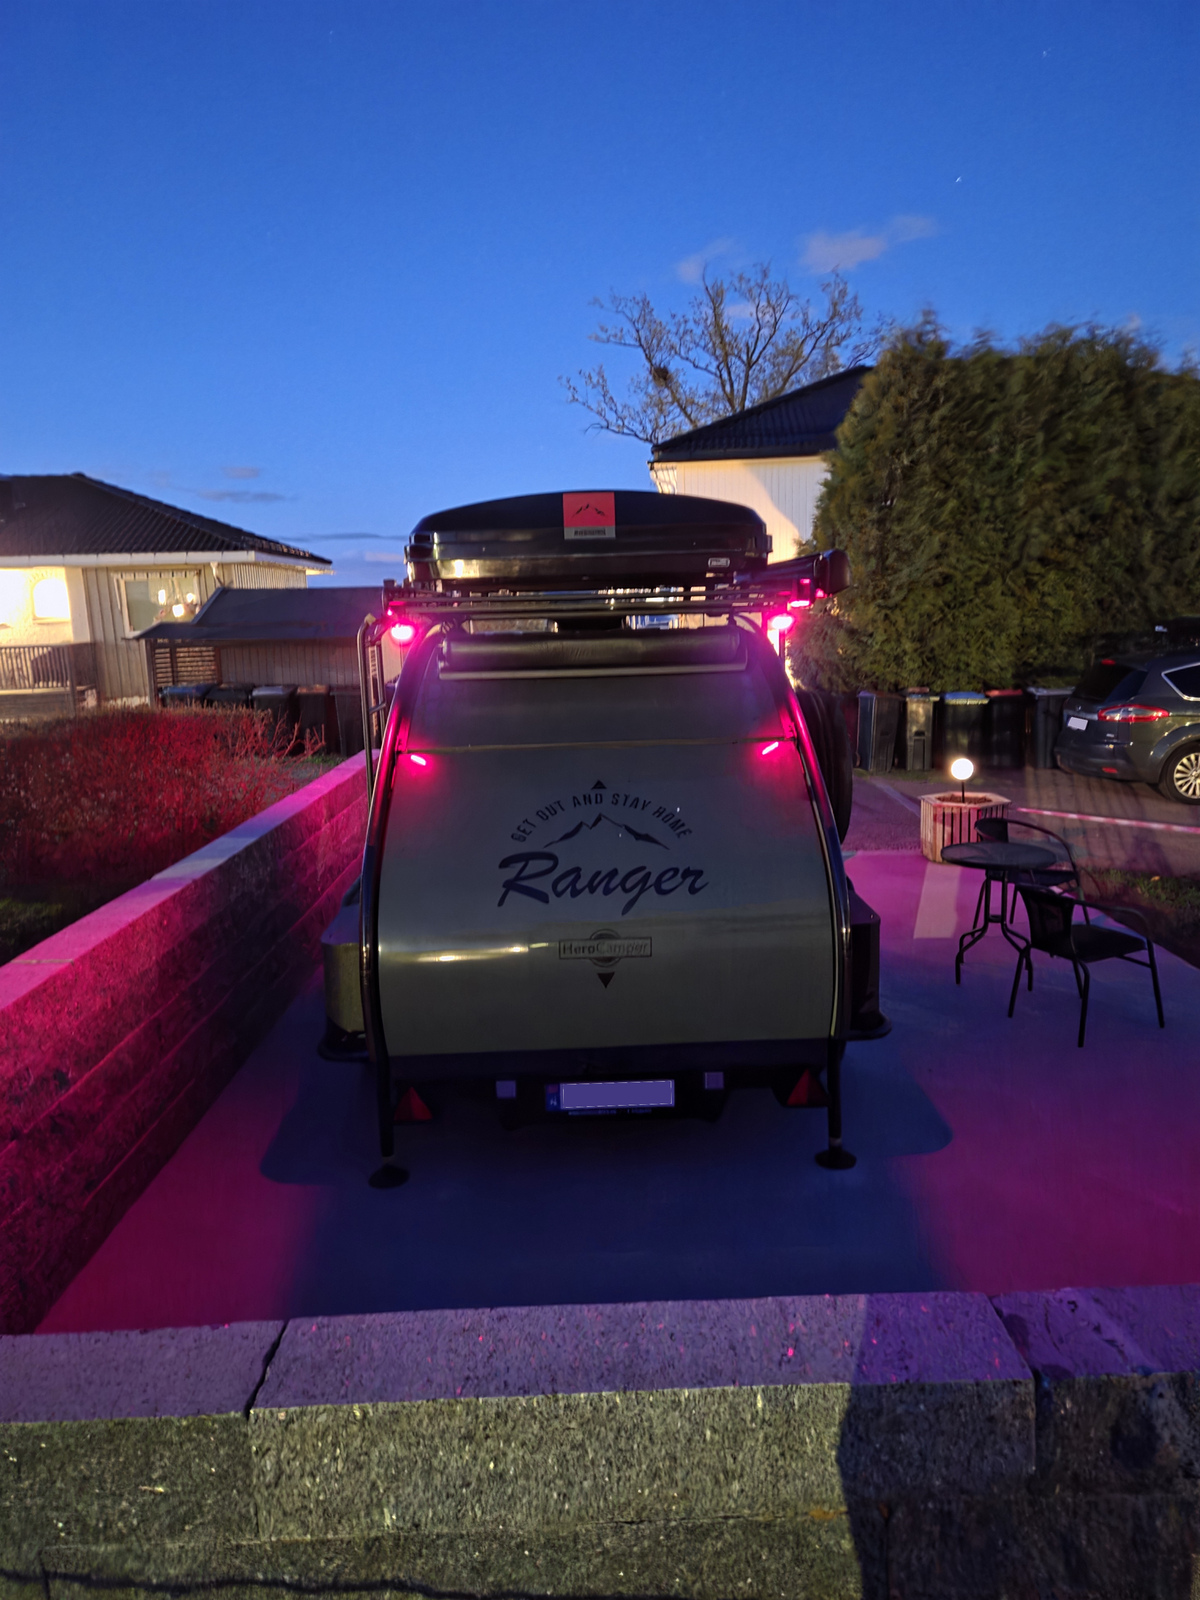
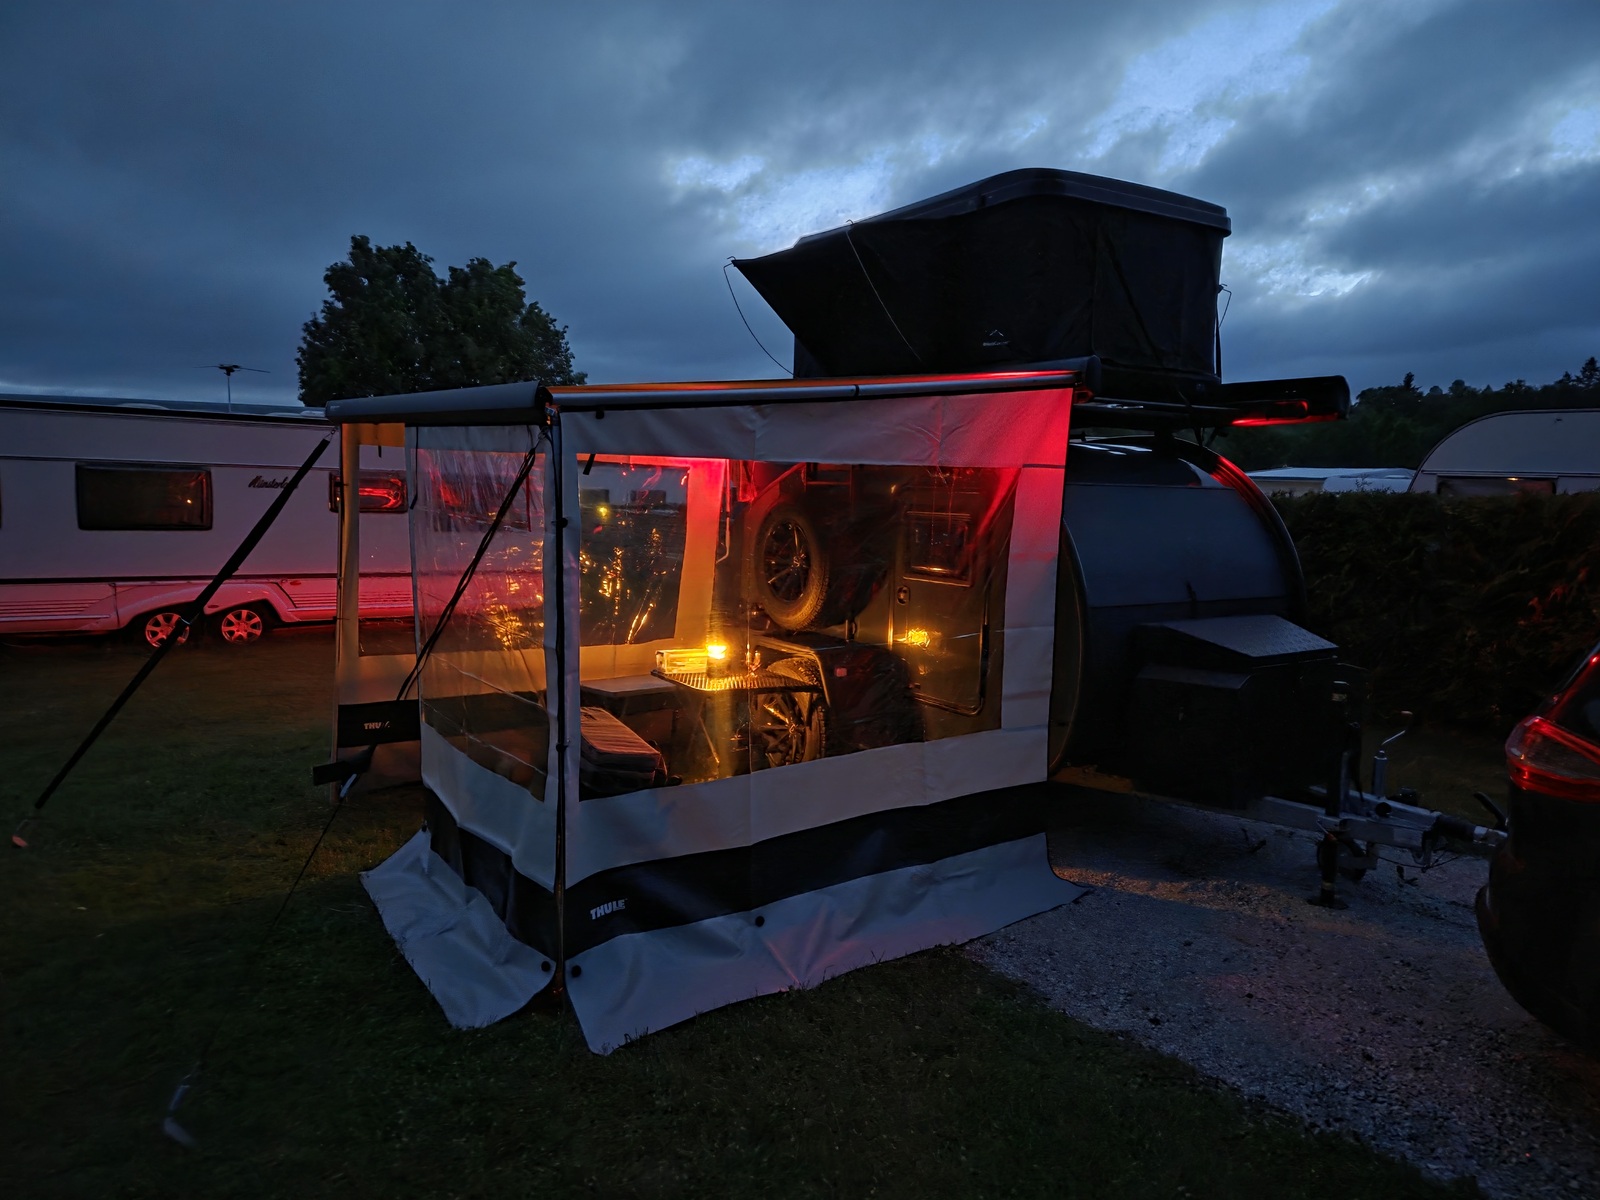
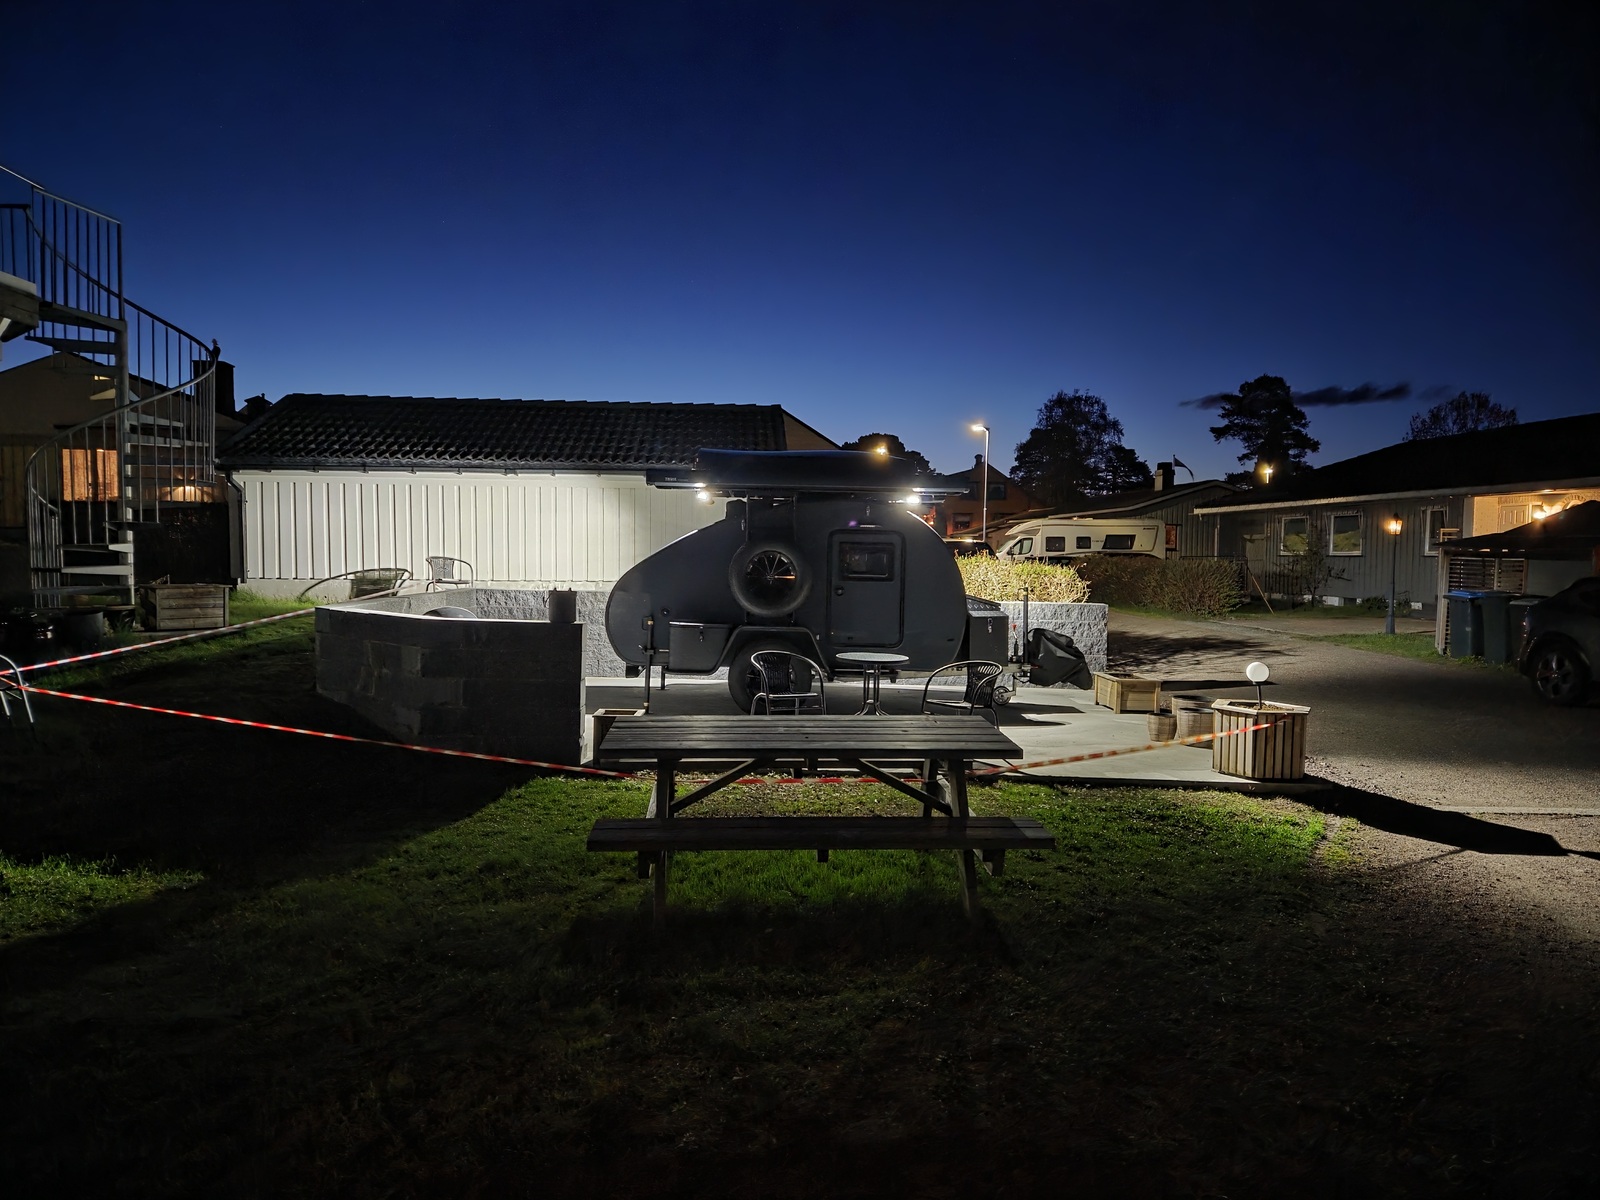
Red
The red light gives a dim glow around the camper, and is very useful to find the camper when parked at a dark campsite.
It also makes the camper look awesome! So we usually turn these on in the evening.
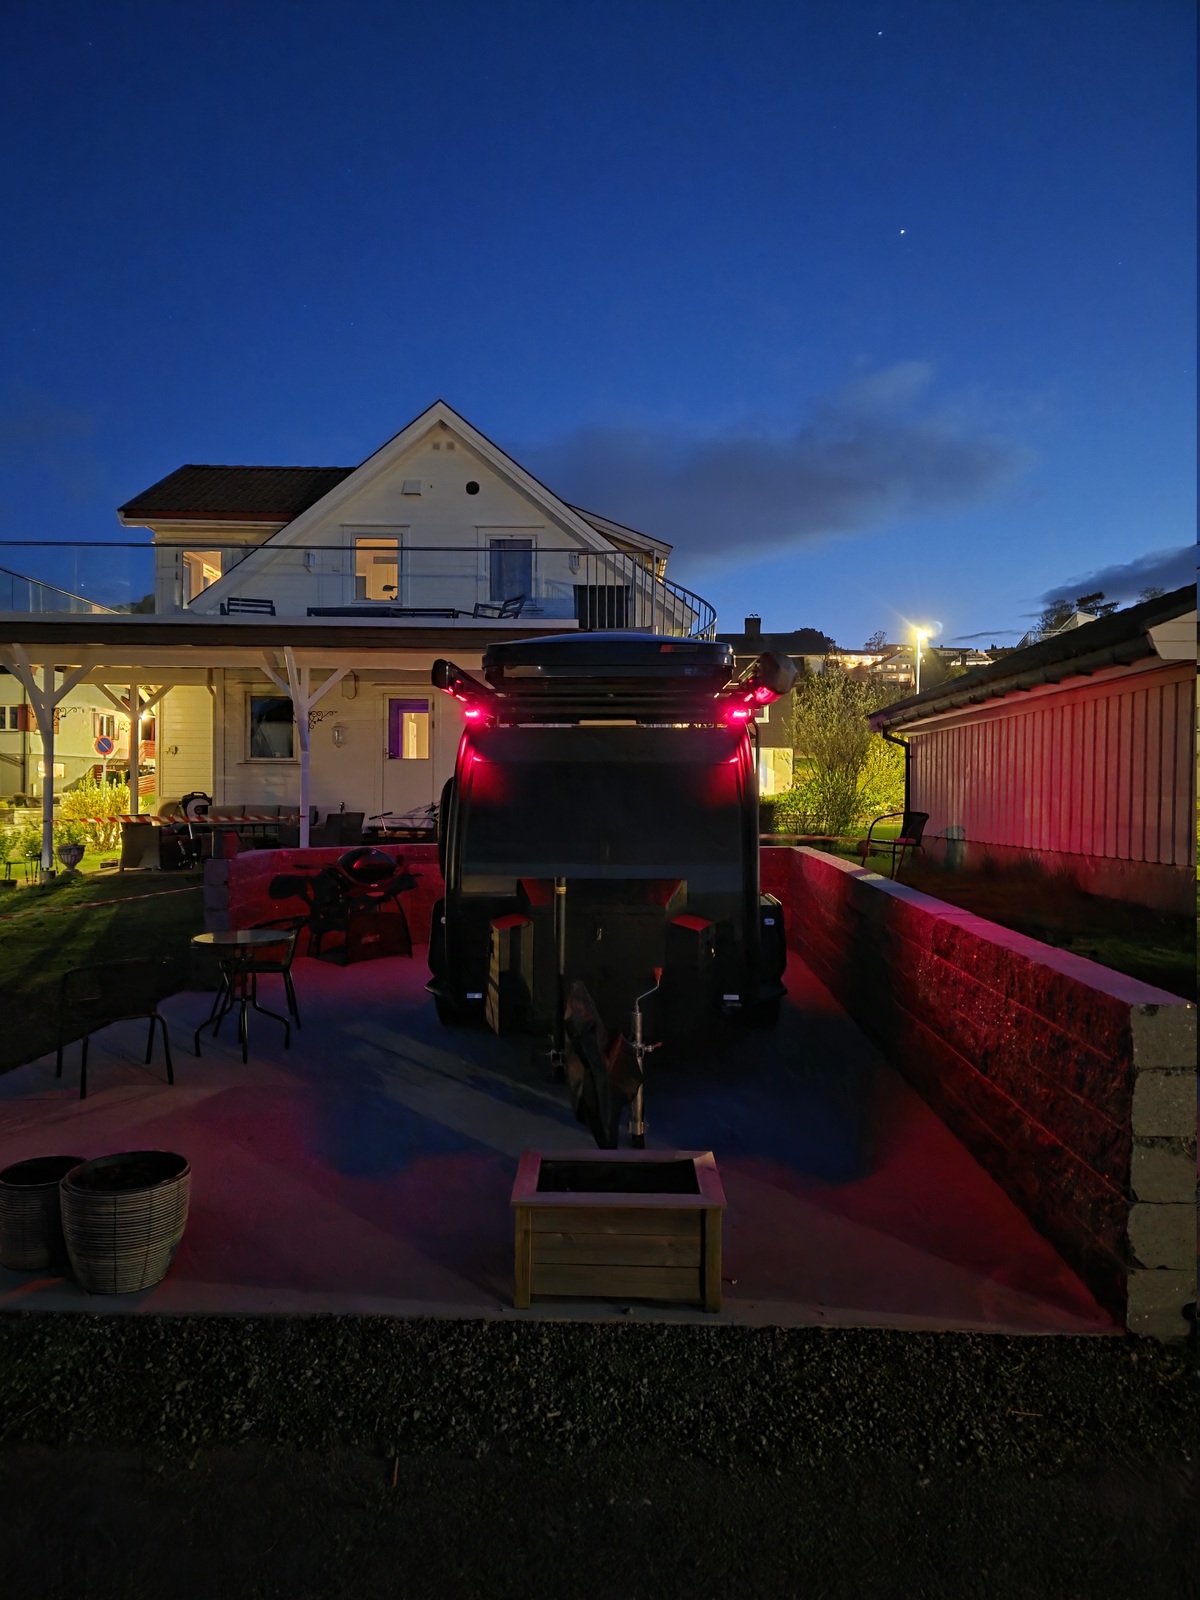

When the Thule awning is up, the red lights also give a nice red glow on the inside of the awning walls.
Yellow
We haven’t used the yellow much, but it gives a nice warm ambient lighting around the camper. Which I imagine is useful if parked someplace dark and in need of some “fumble lights”.
White
The white lights are bright. The rear and front facing lights can be controlled individually.
Having all lights 90° apart from their neighbours means that the four lights do a good job of illuminating all around the camper.
At the rear, the body of the camper creates some shade. Because the lights point outward rather than backward, they aren’t completely blocked if the rear hatch is open.
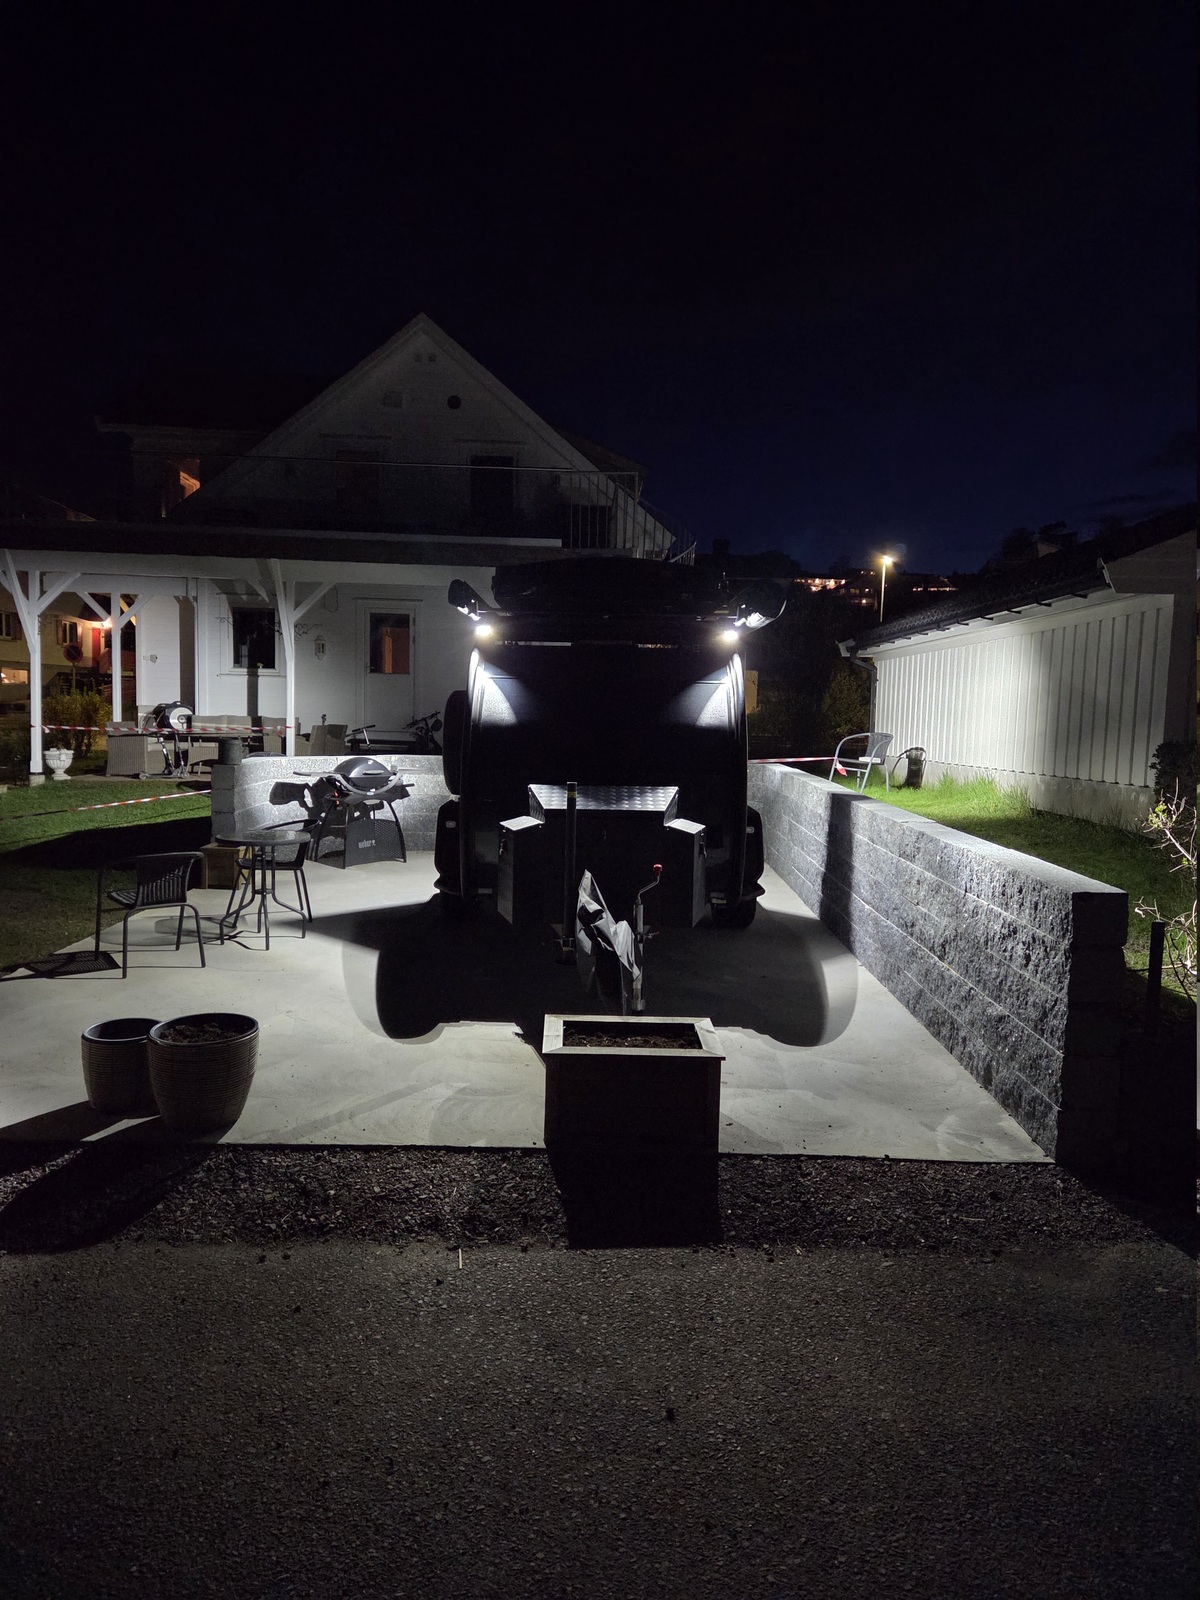
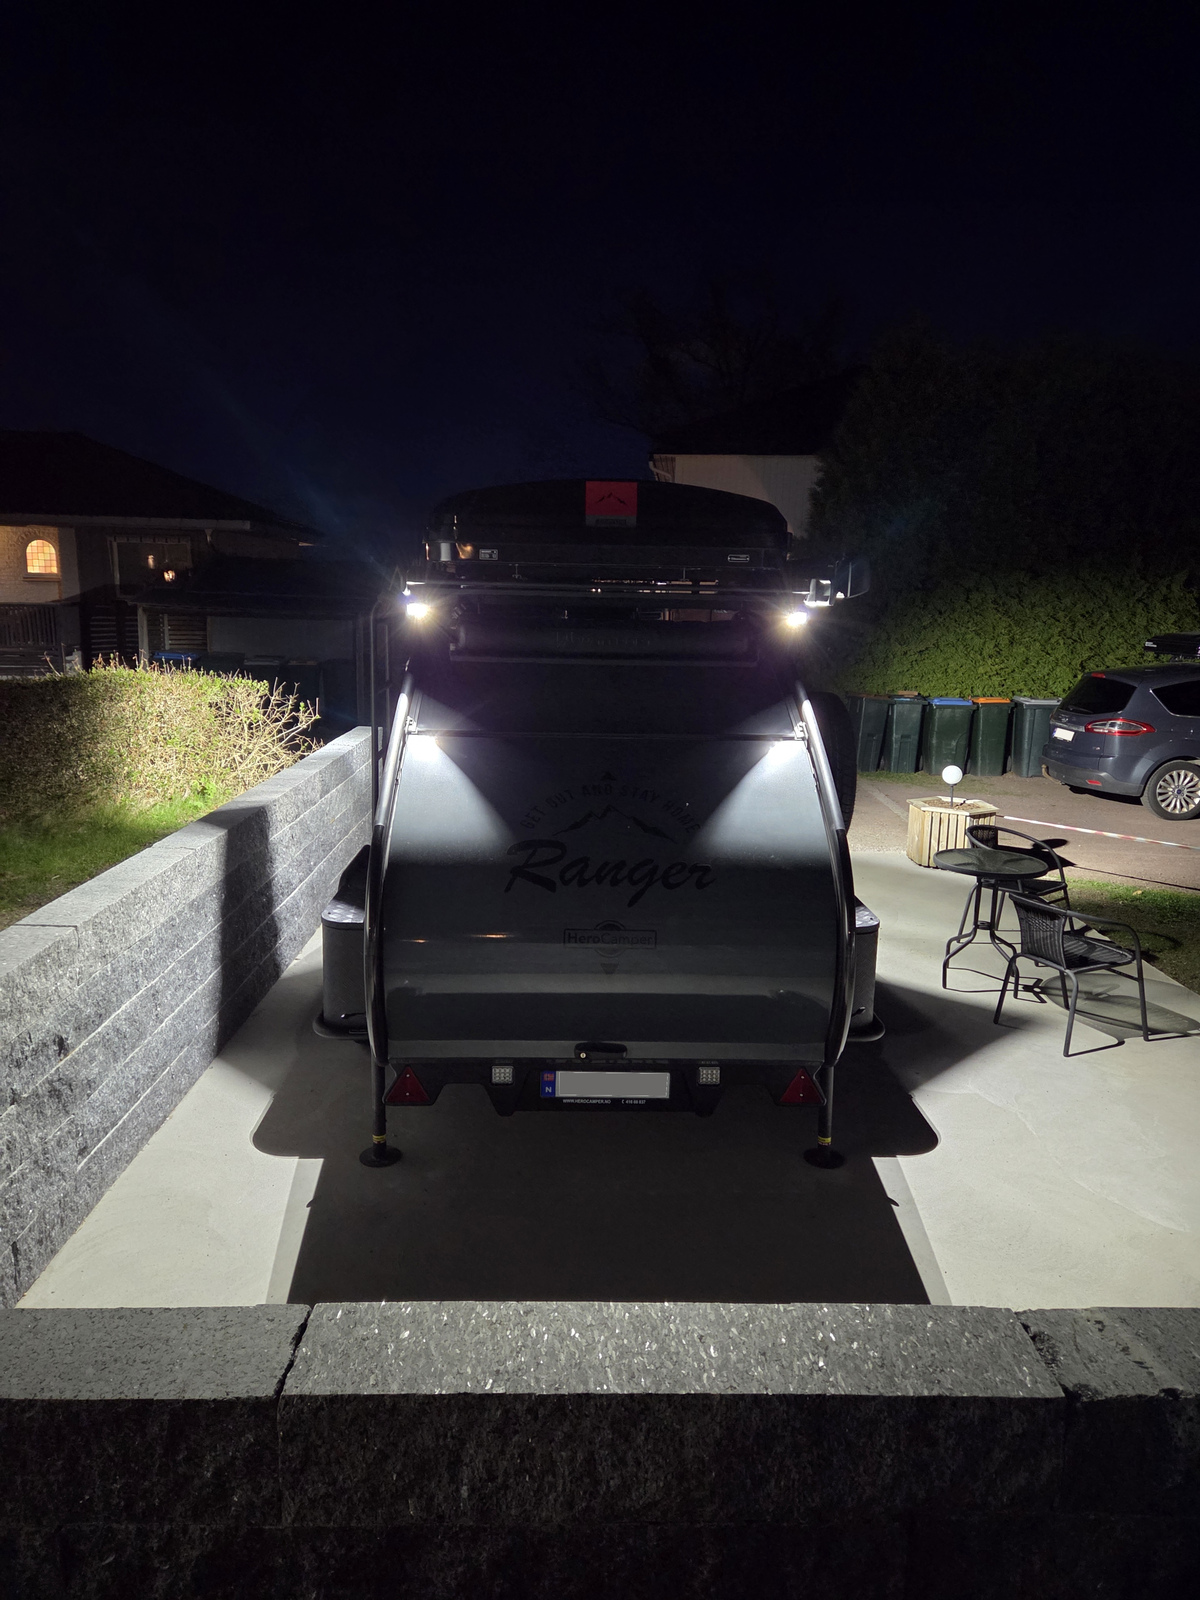
On the sides, there is a small, triangular shadow, but coverage is otherwise good.
The cabling
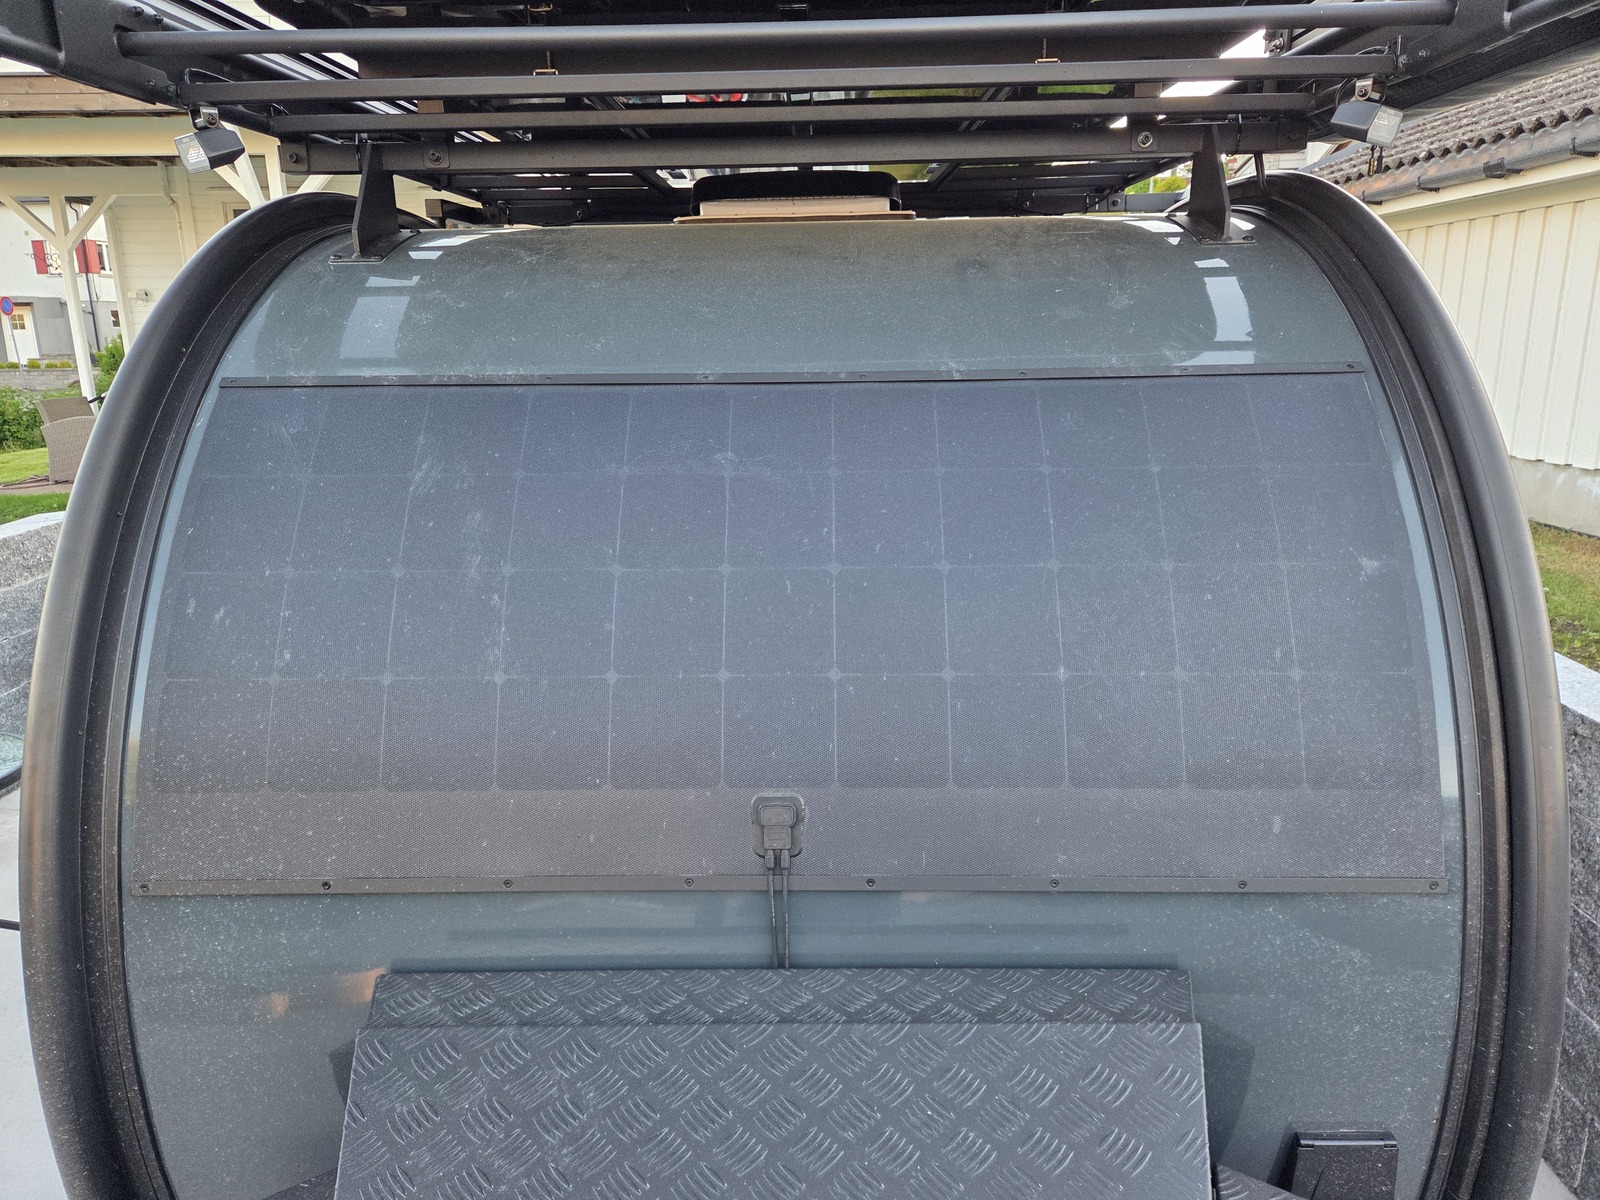
A flexible cable duct runs down the side in the front of the camper. It’s black and blends nicely with the adjacent body shape and color.
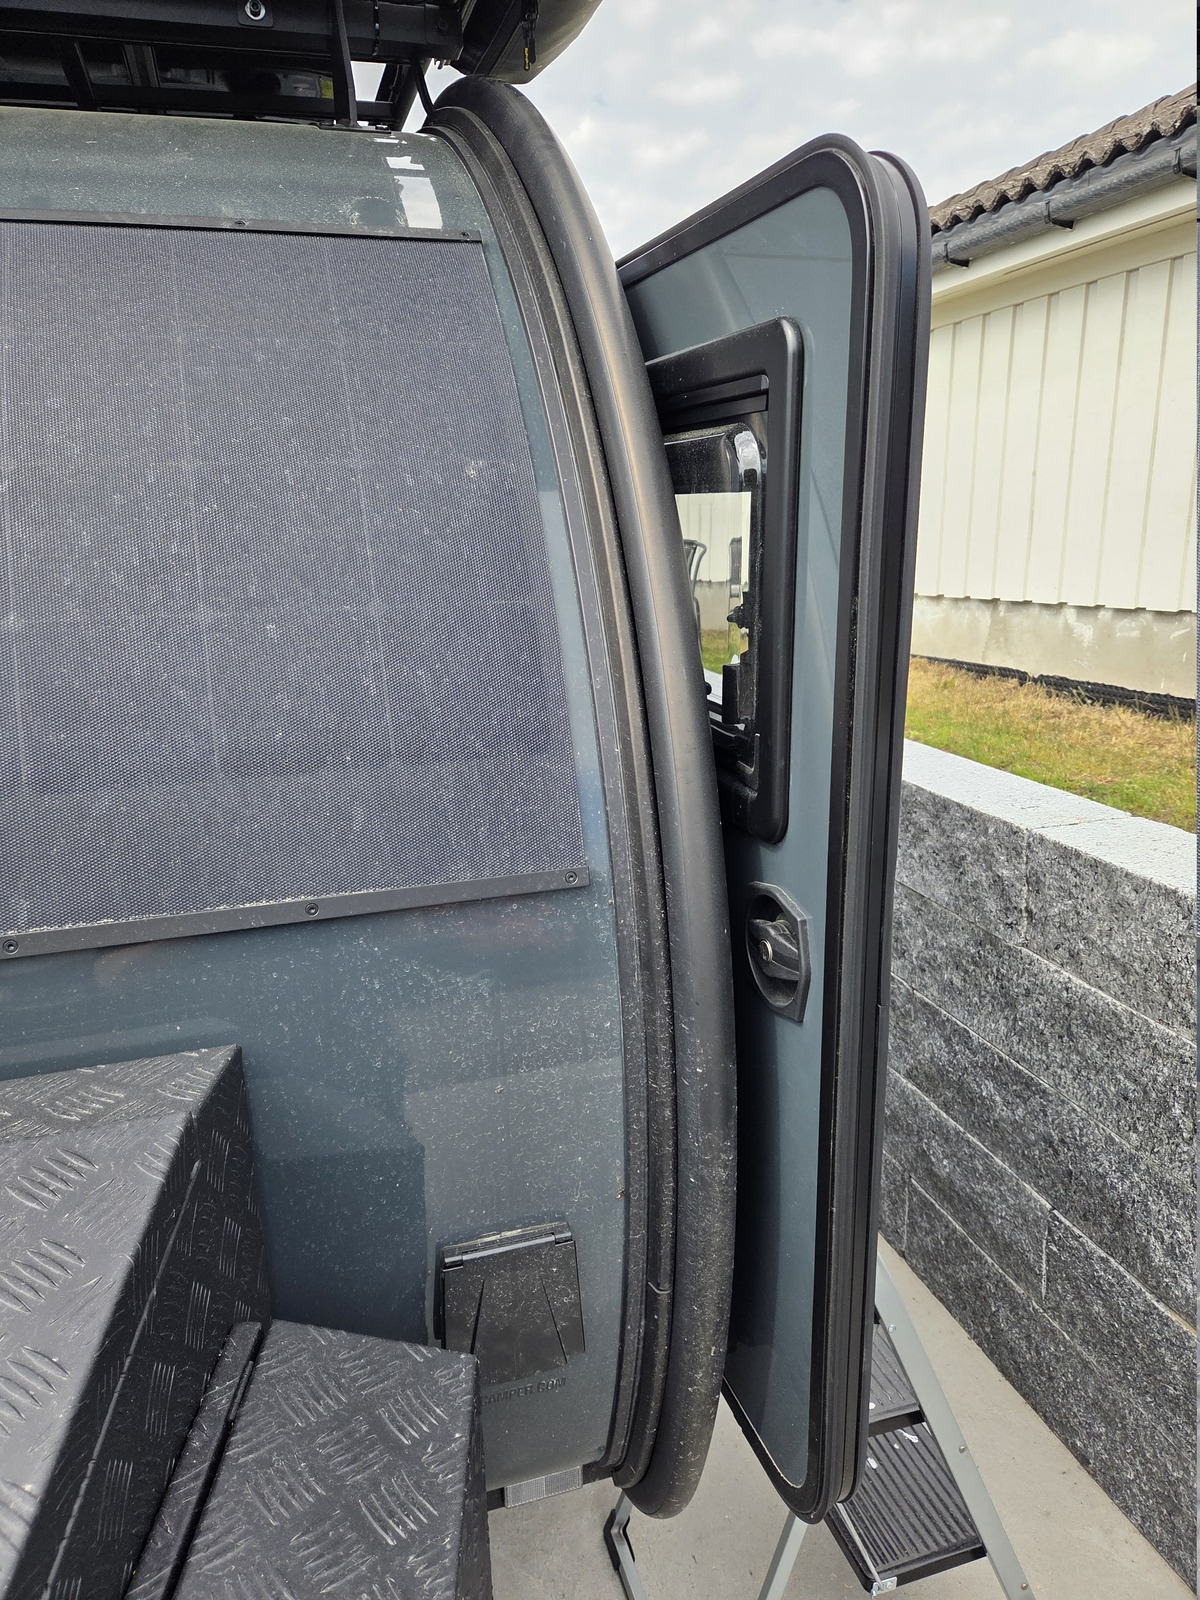
Two cables, one for the rear, and one for the front lights, go into a junction box underneath the camper. From here they go through the floor and into the camper cabin.
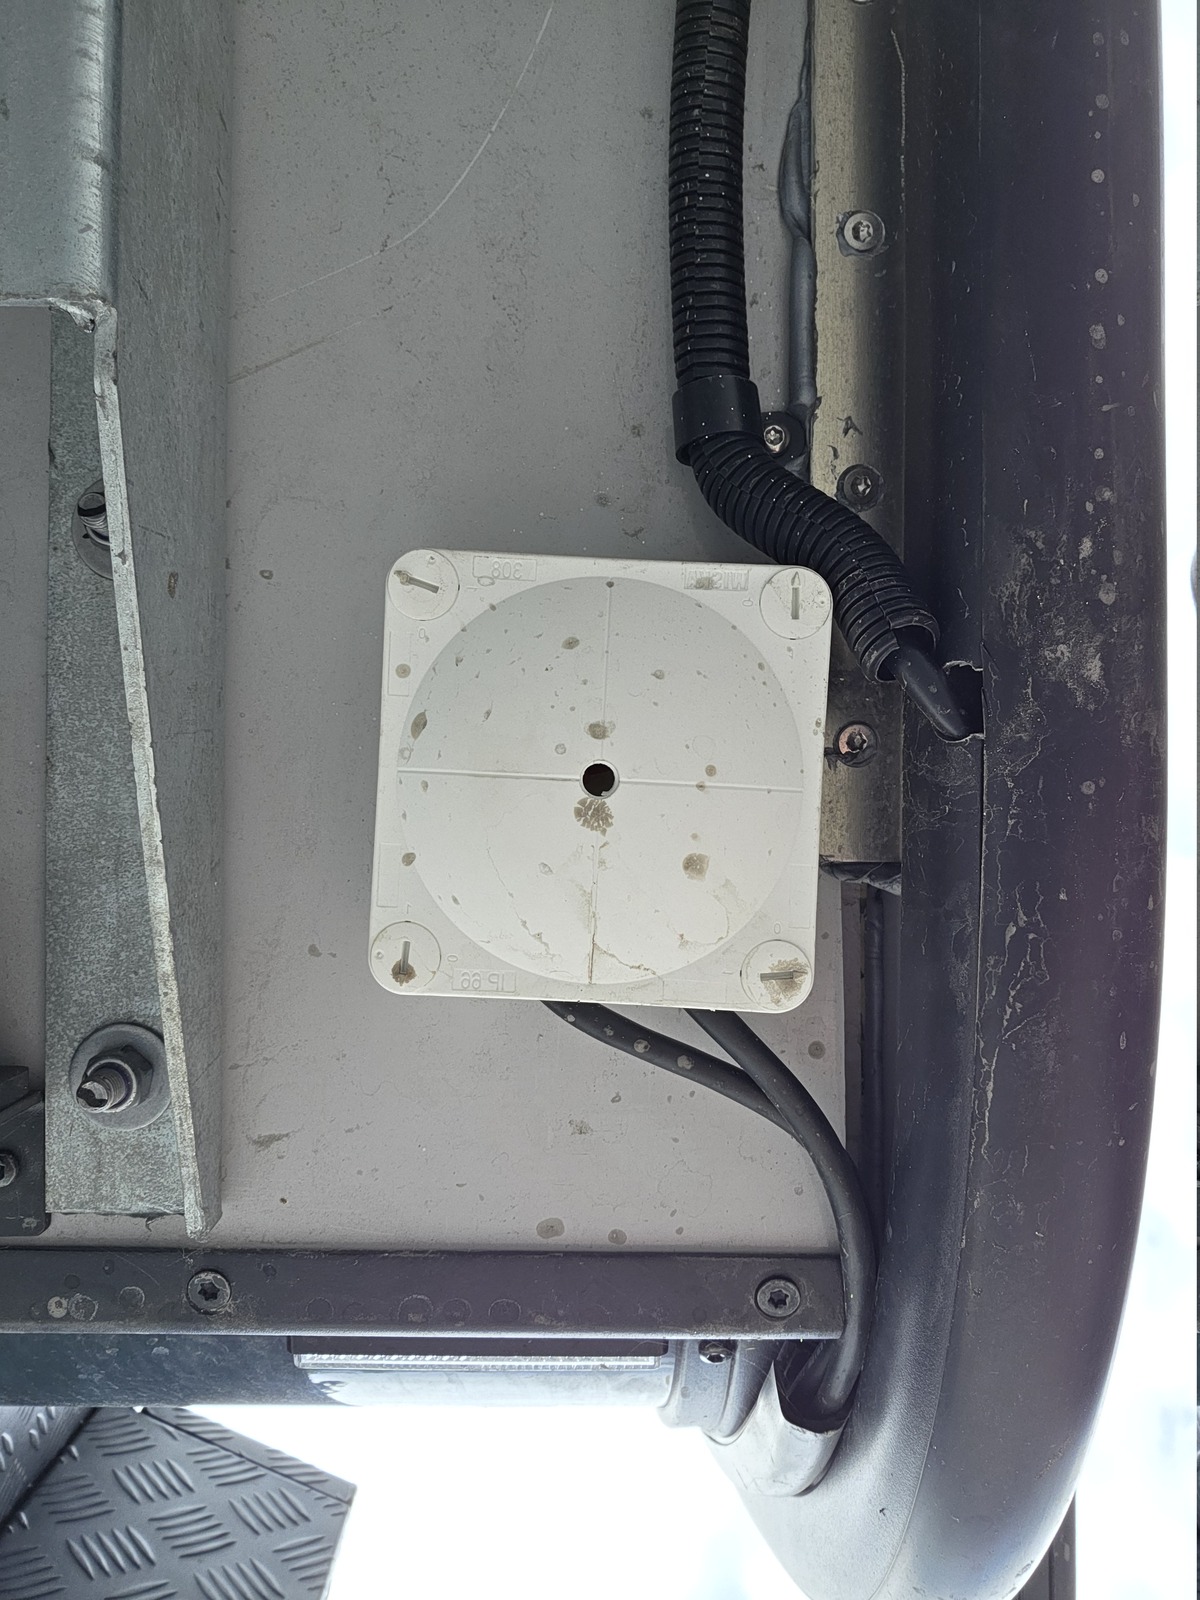
To make this work with the 4-channel controller, the wiring in the under-floor junction box is split into logical zones. The white main beams are kept on separate front and rear pairs (channels 1 and 2). Meanwhile, the red light wires from all four lights are spliced together into a single run back to channel 3, and all four yellow wires are spliced together to channel 4.
The controller
The controller has four channels, with illuminated buttons (white and red). Channel status is restored when the controller is turned on.
The buttons can be programmed as momentary or toggle switches. Mine are all toggle.
A sheet with 36 stickers is supplied with the device, although I did struggle a bit to find something suitable for the red and yellow lights.
- Rear lights: rear-facing white
- Roof lights: front-facing white
- AUX: all red
- CRUISE: all yellow
I applied the “Roof lights” label before adjusting the angles, and the sheet didn’t include a “Side lights” option. Maybe I should check if there is a more suitable “Front lights” label.
The end
We have already enjoyed having the red lights visible from all around the camper.
We went from having a frustrating blind spot in the front to full 360-degree coverage, all without having to buy more hardware or overcomplicate the wiring.
Now — all we need is to get out to a dark campsite and put the yellow and white to the test as well.
🖖